


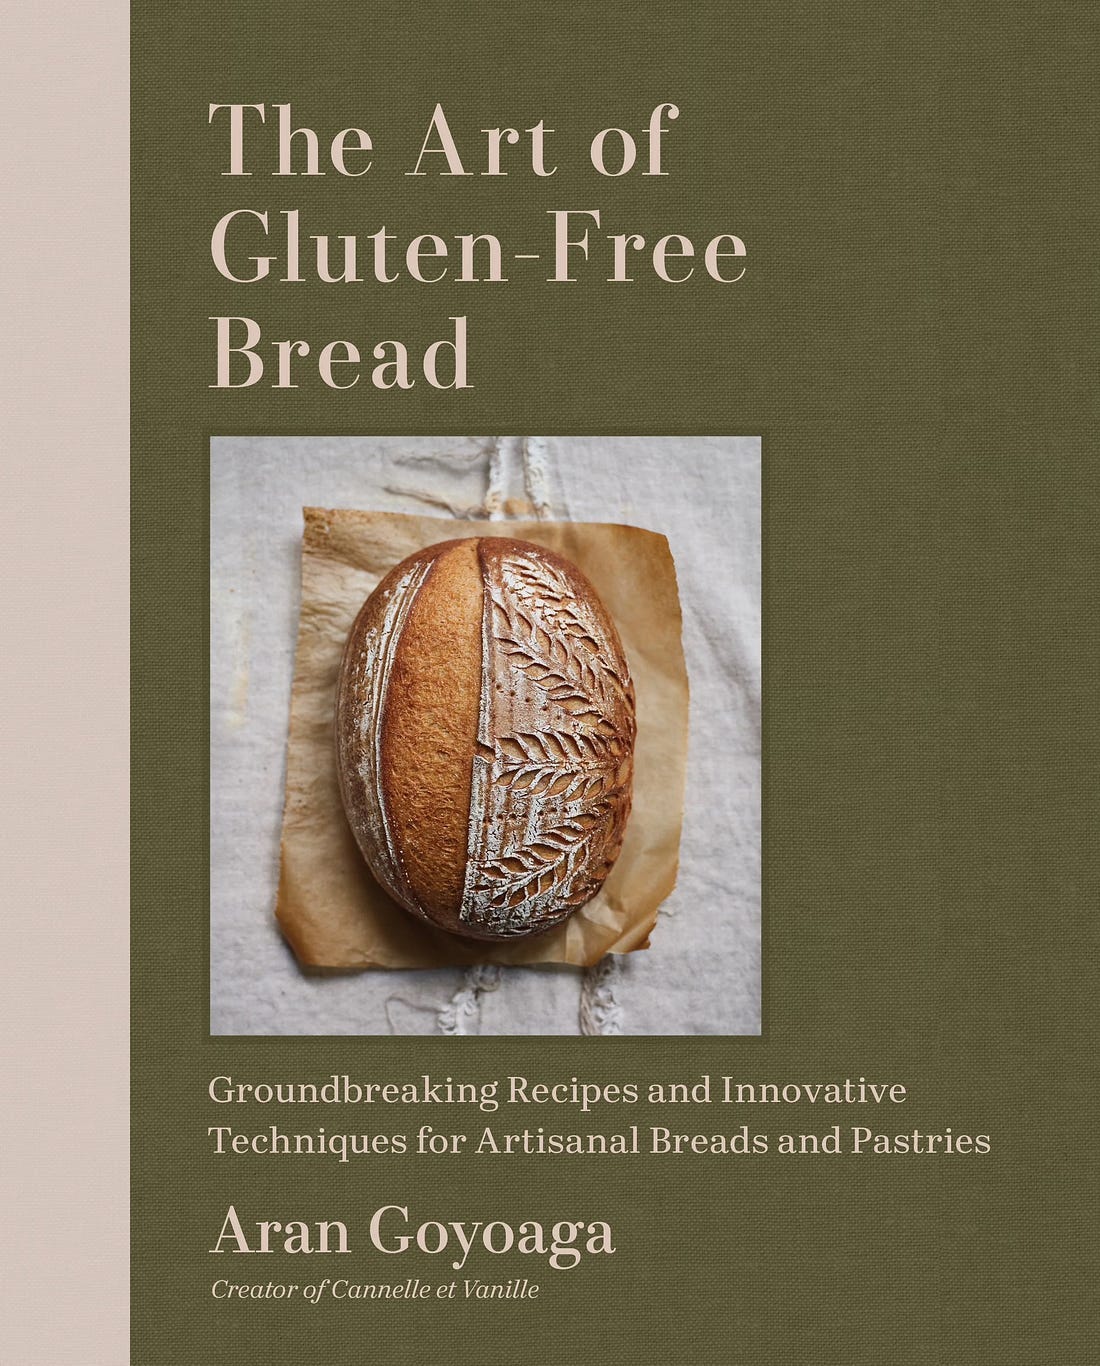
Bonjour, Emily here! When David received a copy of Aran Goyoaga’s perfect new cookbook, The Art of Gluten-Free Bread, I (as the resident celiac) jumped straight on it, having adored her recipes for years.
Baking bread is like alchemy, seeing something so delicious come of almost nothing, balanced delicately with the disappointment when it goes wrong for no discernible reason, but with Aran’s well-researched explanations, everyone can become a successful gluten-free baker. It’s written to help you succeed, suitable for all levels from beginner to expert, and is divided into eight logical chapters.
Alongside the groundbreaking recipes you’ll find equipment and technical explanations, pantry staples, instructions for making a starter and thoughtful ways to use the discard, and information on different flours, including how to mill your own at home. Aran also gives clear directions for buying psyllium husk and swapping out dairy, eggs, and different types of yeast (there’s even a yeast-free bread recipe).
I’ve so far made the Roscón de Reyes, popovers, soft pretzels, and vanilla-glazed donuts, and have a sourdough starter bubbling away happily. Although I’m handing David back his copy (admittedly with a few butter smudges - sorry!), I’ve already ordered my own to keep, and you can find yours here or in your local bookshop.
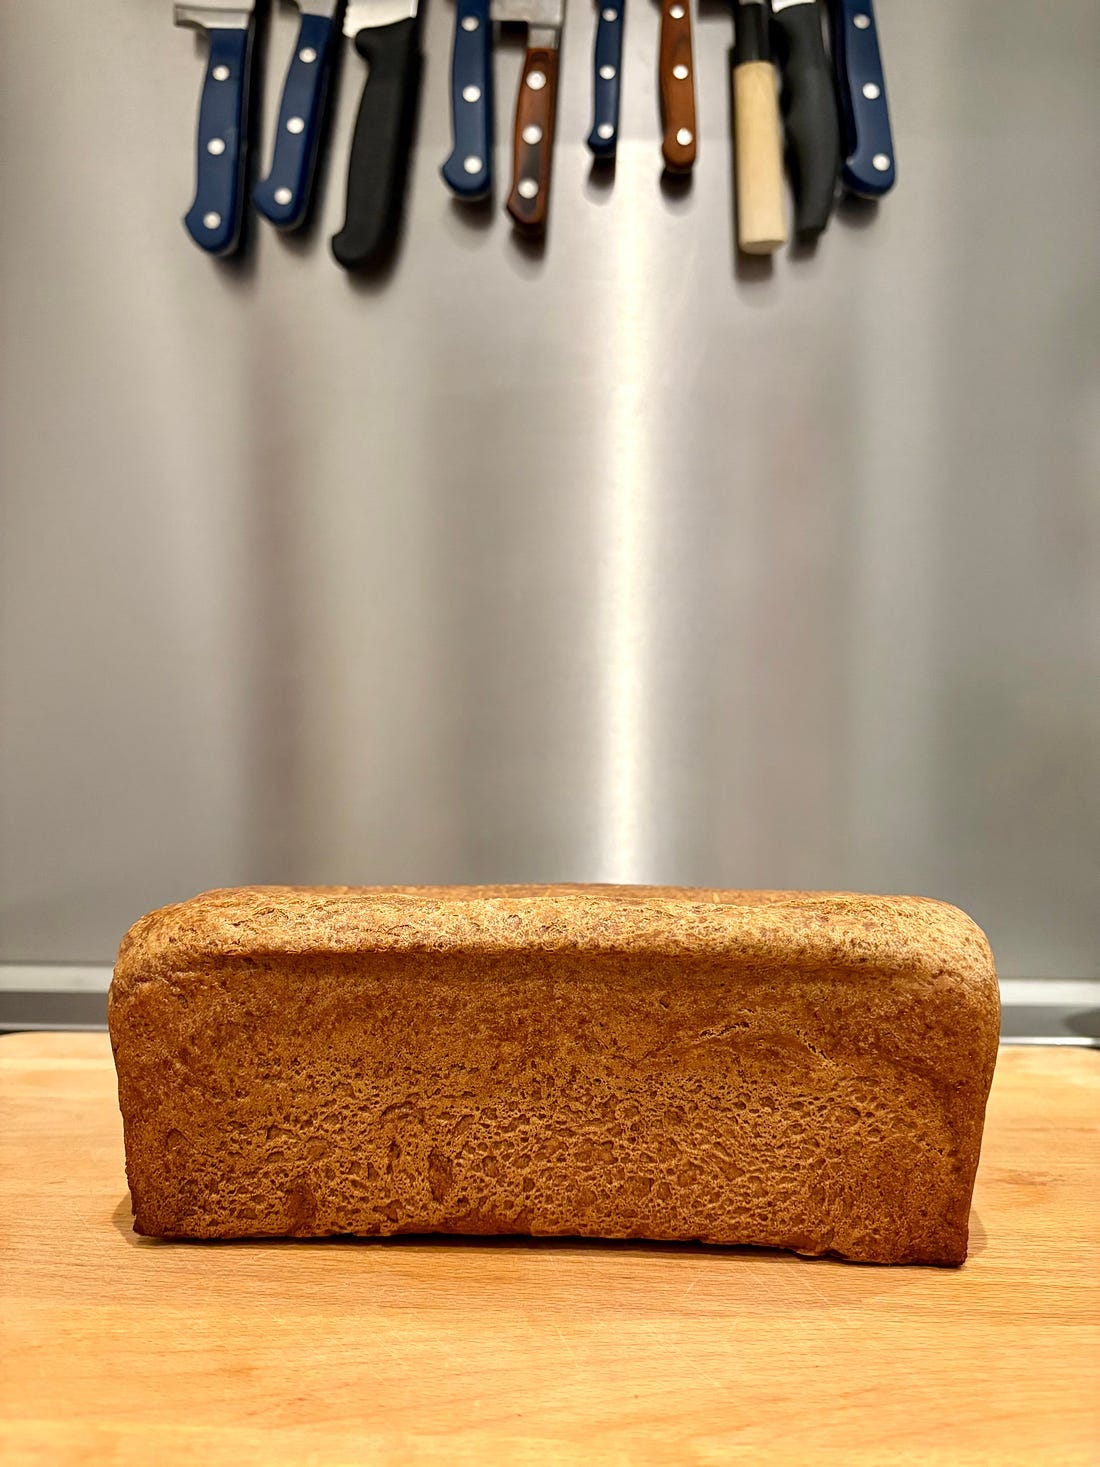
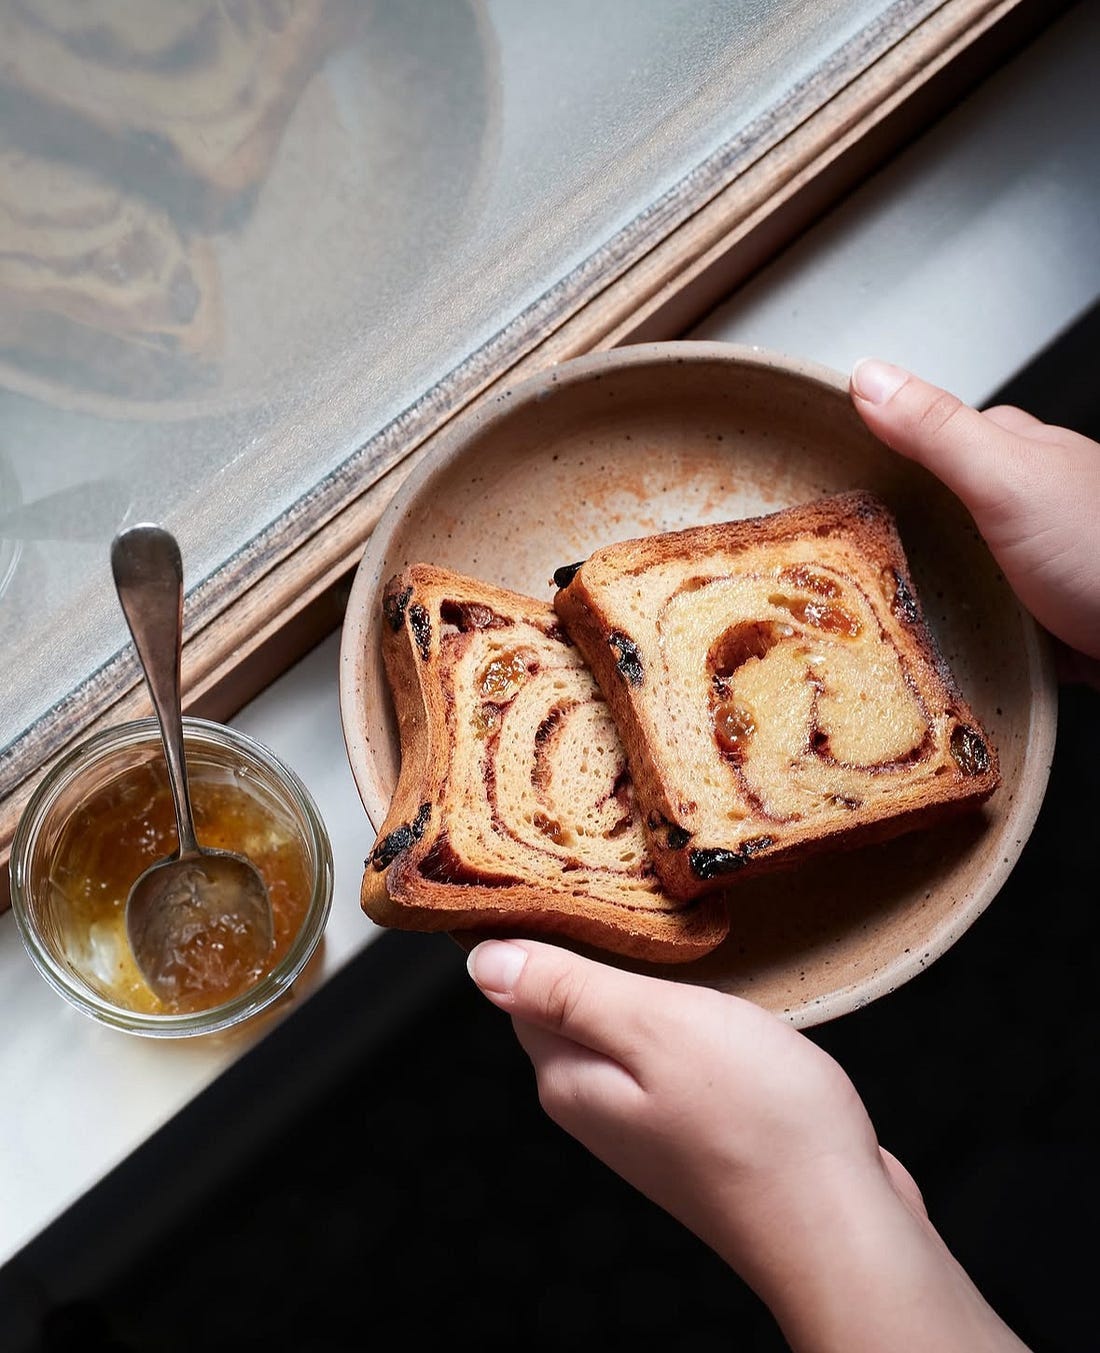
Open the book to any page and you will want to eat, so choosing just one project to share here was a challenge (Aran said the recipe she’s most proud of is the Danish). I eventually settled on pain de mie (pain means bread and mie refers to the soft interior crumb) because of its connection to France. It’s a square loaf that’s baked in a sealed pan to give it a thin crust and tight crumb. This bread is very popular for sandwiches and ideal for making croque-monsieur and croque-madame.
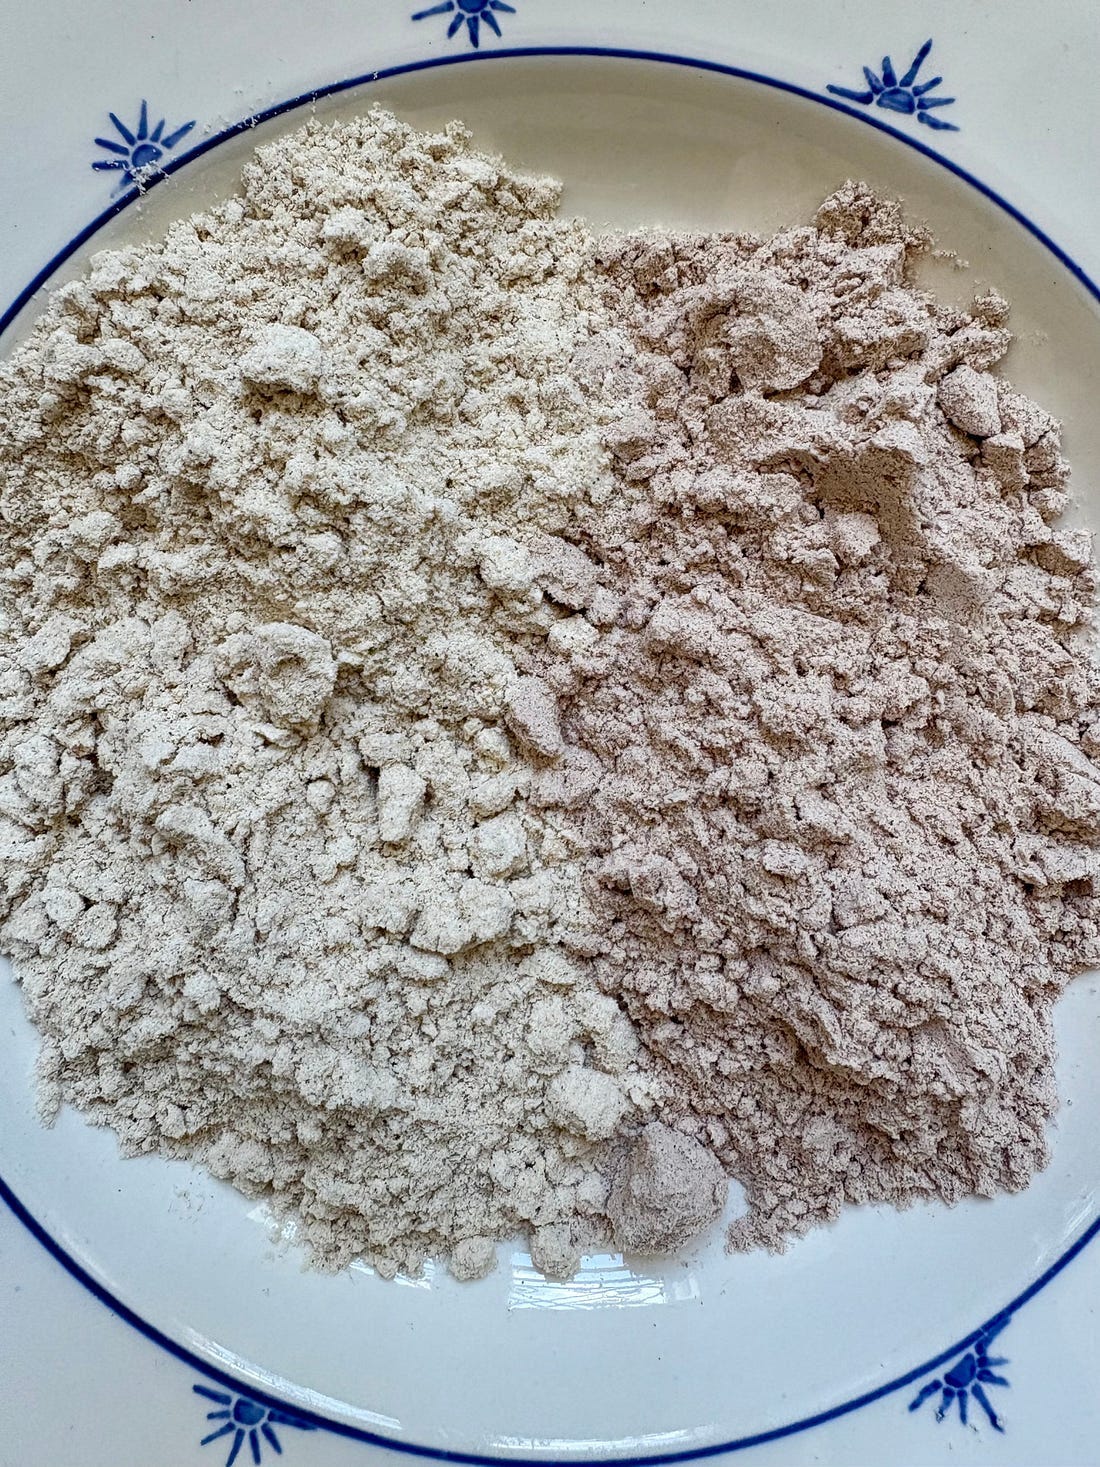
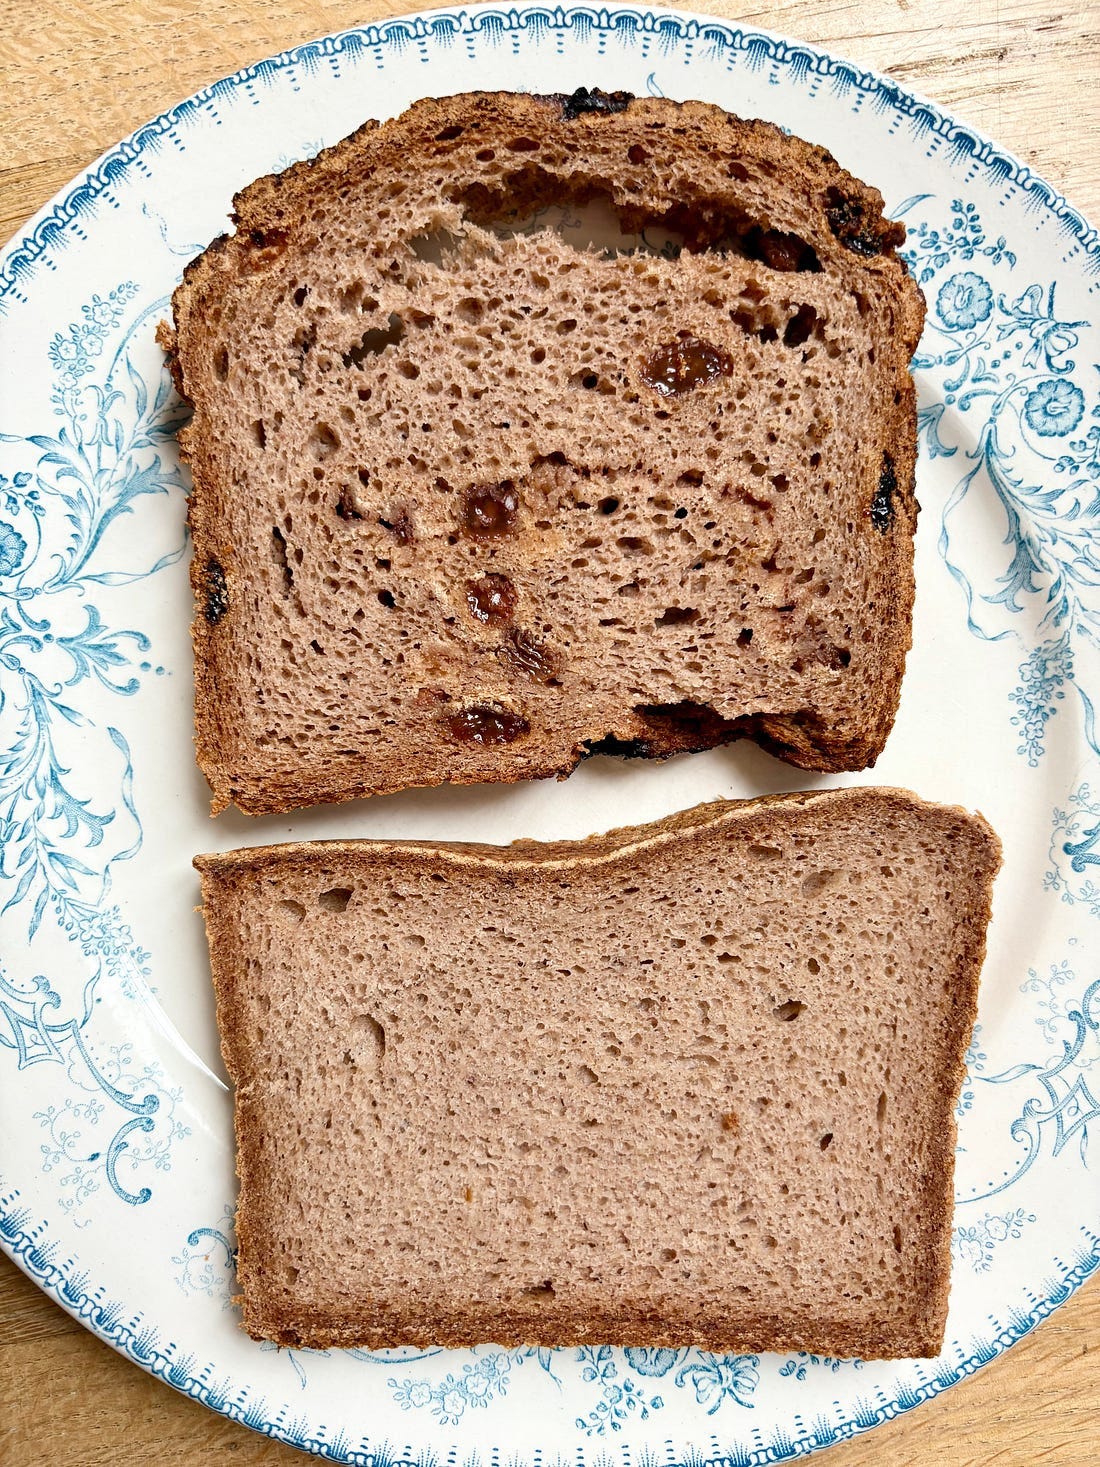
Aran describes sorghum (the main ingredient) as “slightly sweet, wheat-y tasting and light yellow flour… grows well in the US, but it seems harder to find in parts of Europe” and suggests millet in its place if necessary. I found sorghum flour easily in France but it was quite dark, so my loaves came out looking slightly more rustic than the image in the cookbook. Then while traveling I found Bob’s Red Mill sorghum flour, which was a lighter color and baked very pleasing loaves.
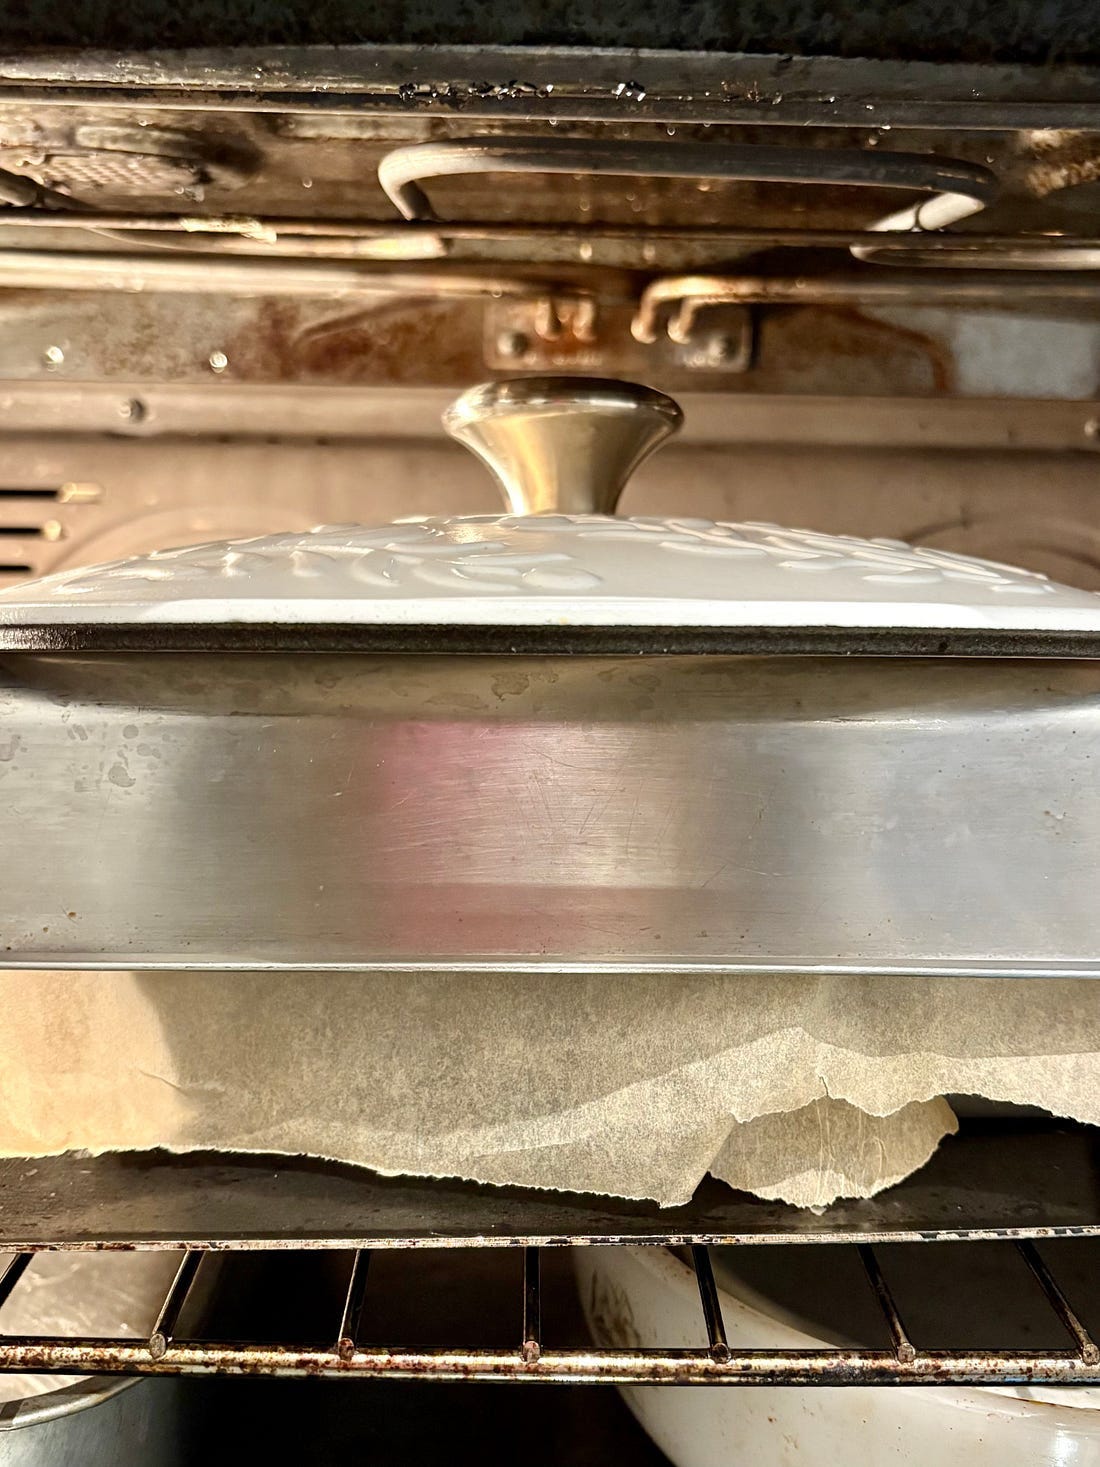
This recipe calls for a Pullman tin with a lid and I considered buying one but know I’ll use it once, lose the lid, and forever feel regret when opening the baking drawer. Instead I used a 9-inch (23cm) loaf tin and for my first bake MacGyvered a lid out of baking paper, a roasting tray, and a Le Creuset lid to weigh it down. This almost contained the bread into a rectangle and on the second try, I got it to behave. I also tried a version where I let it roam free with no lid and as promised by Aran in the notes, the crust was very slightly thicker and the crumb was less tight, but it was equally as delicious.
I used to be slapdash with baking but have learned that with gluten-free recipes, it pays to stick to them as precisely as possible (my heart sung when she presented the liquids by weight rather than volume), and I used my timer methodically at each step. It’s a long recipe (around three hours) but mostly done in 30-minute increments of waiting. While it takes patience to leave the bread in the cooling oven and then again on a wire rack for another half hour, these two steps had a noticeable effect on the finished structure of the loaf, exactly as promised in the instructions. Her writing may feel effortless, but it’s clear Aran takes recipe development seriously and has tested each one to the nth degree.
The first time I tried this recipe there were snowflakes dancing on the glass ceiling of our kitchen, so I allowed an extra 15 minutes proofing to make up for the cooler room temperature, but on regular weather days the dough was right on time at each step.
Happy baking - Emily

Pain de Mie
Adapted from The Art of Gluten-Free Bread by Aran Goyoaga
Makes 1 loaf
2 1/2 teaspoons (10g) active dry yeast
300 grams water, heated to 105°F (41°C)
300 grams whole milk or oat milk, heated to 105°F (41°C)
40 grams honey or maple syrup
30 grams psyllium husk powder
280 grams sorghum flour
160 grams tapioca starch
100 grams potato starch
12 grams kosher salt
1 teaspoon (4g) baking powder
55 grams unsalted butter or vegan butter, at room temperature, plus more for greasing
Psyllium-yeast mixture: Sprinkle the yeast into a large bowl. Add the water, milk, and honey and whisk until dissolved. Let the mixture sit until frothy, about 10 minutes. Whisk in the psyllium. Let it gel for 5 minutes.
Make the dough: In a stand mixer, stir together the sorghum flour, tapioca starch, potato starch, salt, and baking powder. Add the psyllium-yeast mixture and the butter (cut into small cubes) to the dry ingredients. Snap on the dough hook and mix on medium-low speed until the dough comes together, 2 to 3 minutes. Make sure there is no loose flour under the dough ball. It will look quite wet but should hold together nicely and fall out in one big ball when you tip it onto the work surface.
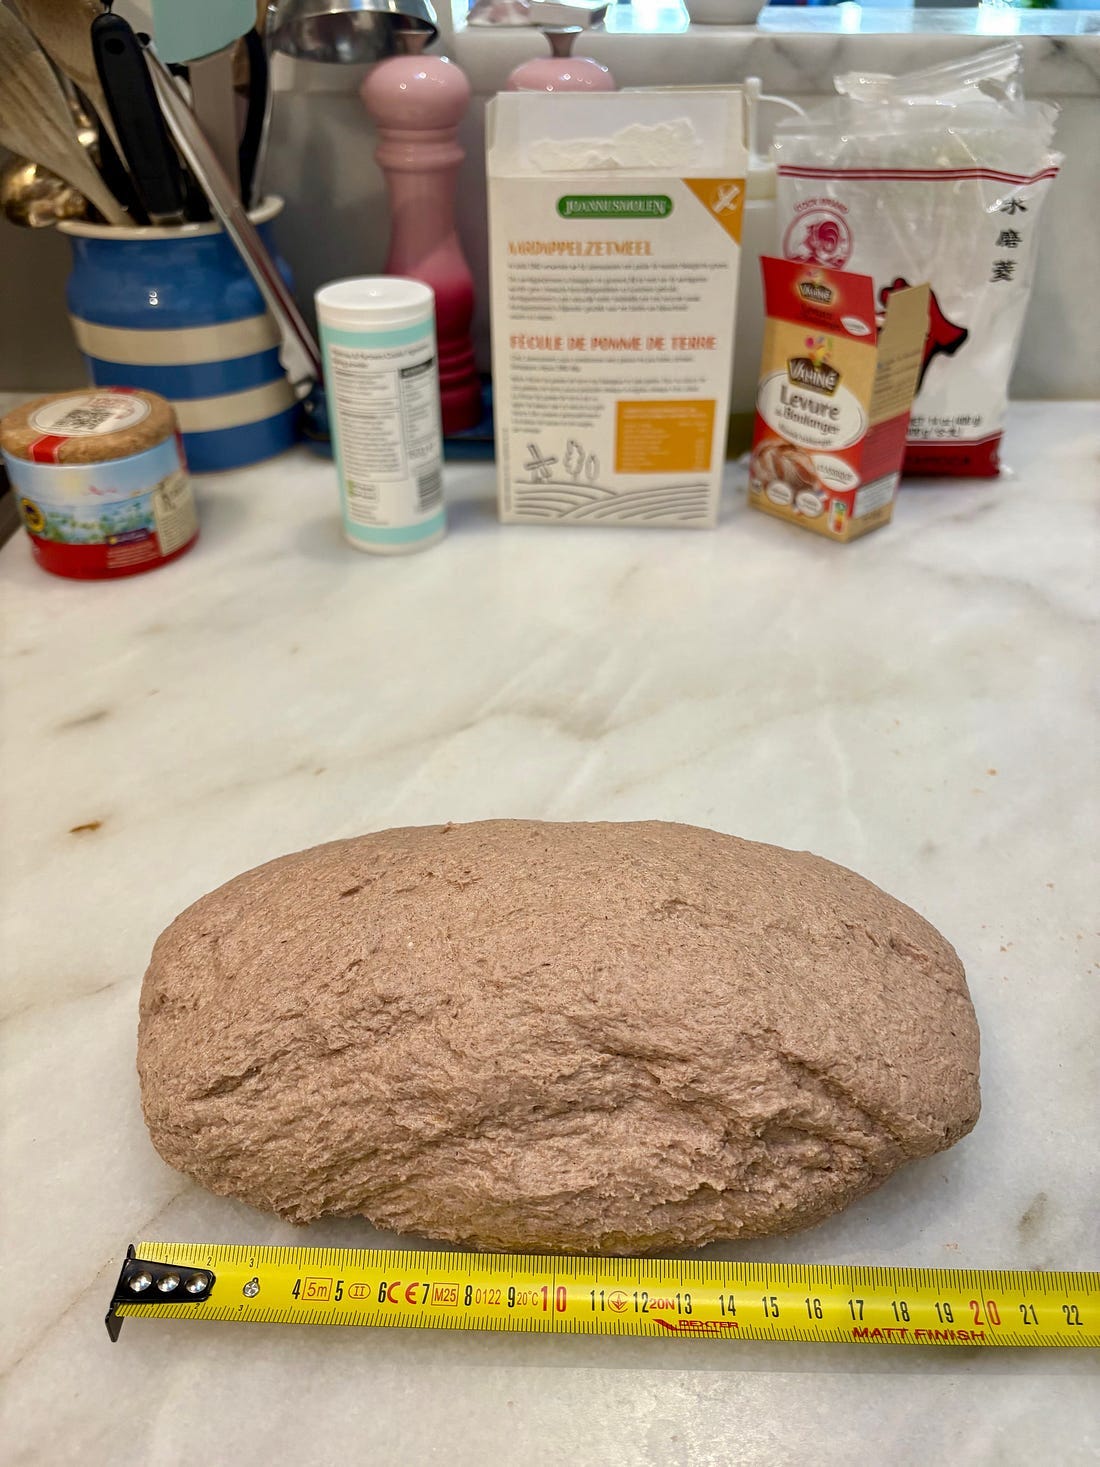
Shape and proof the dough: Transfer the dough to a work surface and knead a few times to shape into a tight ball. Roll this ball into an oval shape that is about 8 inches (20cm) long. Grease the bottom and sides of a 9-inch (23cm) Pullman loaf pan as well as the underside part of the lid with butter. Place the dough inside, cover the pan with a kitchen towel, and leave at room temperature. Proof the dough until it almost reaches the top rim of the pan, about 30 minutes. Don’t let it go past the top of the pan or it can overproof and collapse while baking.
Preheat the oven: Position a rack in the bottom third of the oven and preheat to 425°F (220°C).
Bake the bread: Cover the Pullman pan with its lid. Bake for 30 minutes. Reduce the oven temperature to 375°F (190°C) and bake for a further 30 minutes. Turn the oven off and remove the lid, but leave the pan in the closed oven for another 30 minutes.
Cool the bread: Invert the bread onto a wire rack and let it cool for at least 30 minutes before cutting. If the edges cave slightly, don’t despair; even the bread in the cookbook photo has a slightly concave shape.
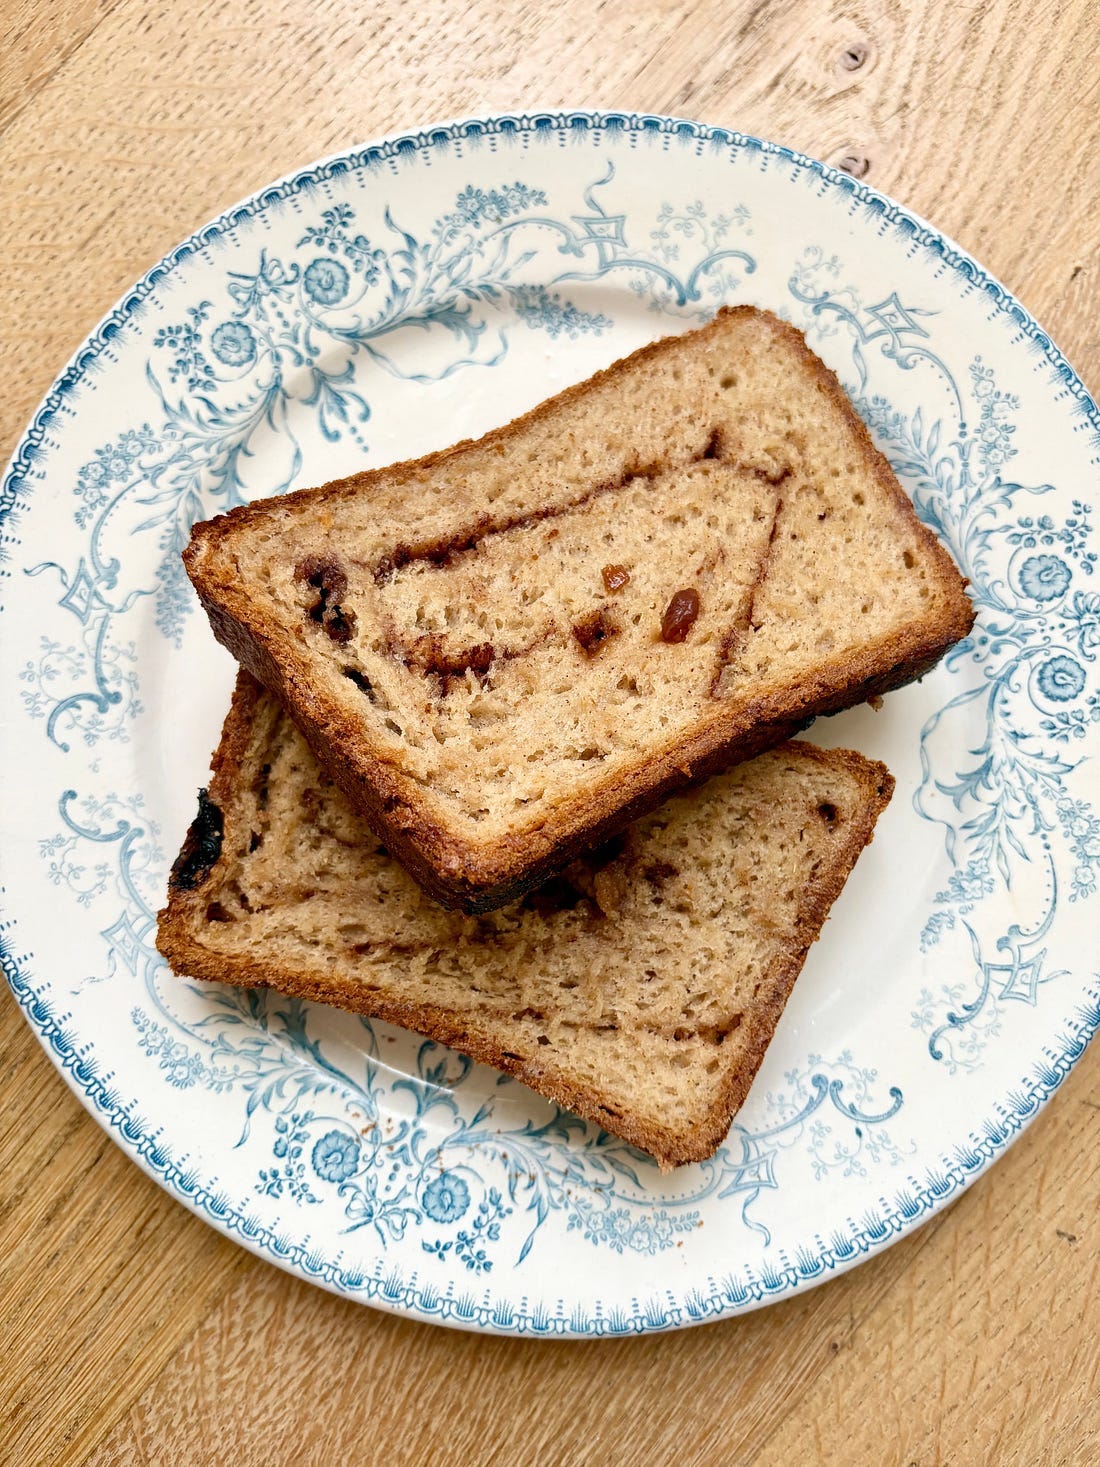
Cinnamon-Raisin Option: Add 1 1/2 teaspoons (4g) of cinnamon along with the dry ingredients when making the dough, then add 80 grams of raisins at the end of the mixing time. Dust a work surface with a bit of sorghum flour and knead the dough a few times until a tight ball forms. Roll into a rectangle about 12 x 10 inches (30 x 25cm) and 1/2 inch (1.3cm) thick. In a small bowl, mix 50 grams of sugar with 2 teaspoons (6g) of cinnamon.
Sprinkle the surface of the dough with half the mixture. With a short side facing you, fold the top third onto the middle and the lower third up over it, creating a letter fold. Turn the dough 90 degrees and roll again into a rectangle 13 x 8 inches (33 by 20cm). Sprinkle the surface with the remaining cinnamon sugar and roll from a short side into a tight log. Continue to roll a few times to seal the seam. Place in the greased pan, seam side down, then proof and bake as directed.
Tips: If you’re like me and not sure when you bought your baking powder, test some with a little acid (vinegar or lemon juice) to check if it still fizzes nicely.
As yeast in France can be hit or miss, I activate it in a small amount of warm water to be sure it’s alive before proceeding (make sure to keep the total amount of water in the recipe the same by subtracting the amount). Once you see bubbles forming, you know your yeast is working and can proceed.
Storage: Like most gluten-free bakes, this one is best eaten the day it’s made but freezes well and toasts up nicely. Aran suggests storing the bread at room temperature, wrapped in a paper bag, for up to three days, but by day two, mine was quite hard so best to eat it fresh, and freeze whatever you won’t eat. You can slice bread and freeze it in slices, then pop the frozen slices directly into the toaster.


 | A guest post by
|
Love the photos! Thanks for including them - so thoughtfully done!
I appreciate the gluten-free recipe! I've made a few of Aran's recipes before and enjoyed them. I think I have everything I need to make this, except whole milk/oat milk and a Pullman pan! I may try to jerry-rig something inspired by your model.